PITHOS+ UI
When you login in Pithos+ you should see the following page.
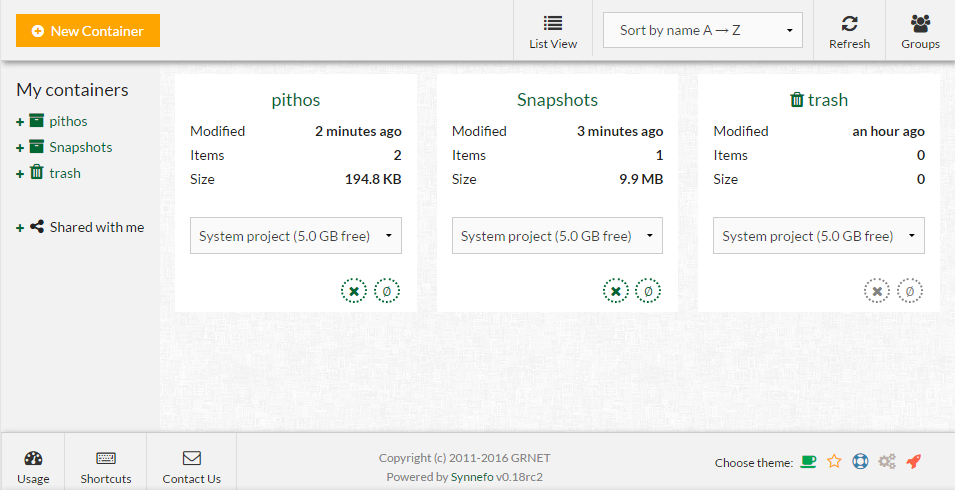
At first you need to get familiar with the concept of "Containers". Containers are the parent folders in which you can manage your folders and files. By default two containers are enabled: "pithos" and "trash". The first one is the container in which your data will be stored and the second one is the container that keeps your trash files before they get permanently deleted.
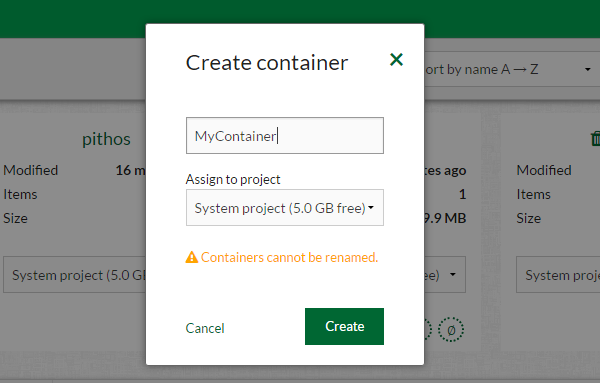
Of course you can create your own containers by pressing the "New container" button. In the pop up window you will have to insert your container's name and select in which project with available resources it will be assigned.
On the left of the page you can see the existing containers. You can empty or delete each container, or even reassign it to another project. Of course you cannot delete your trash container.
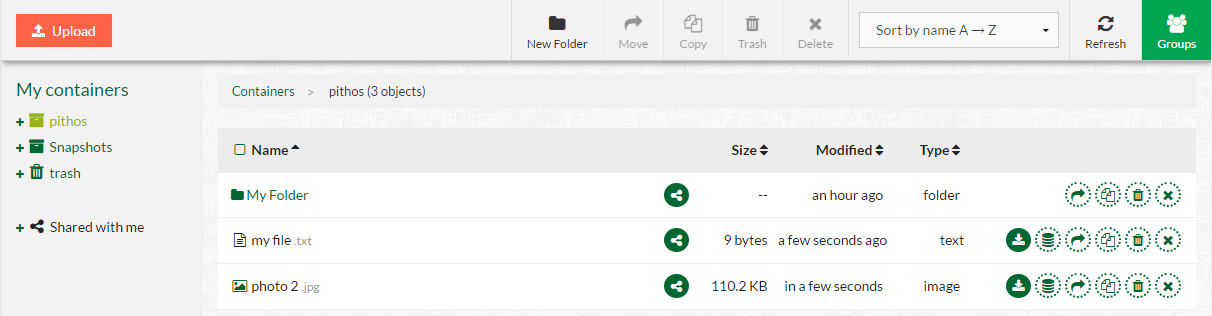
So after you select to navigate to a container you should see the following page.
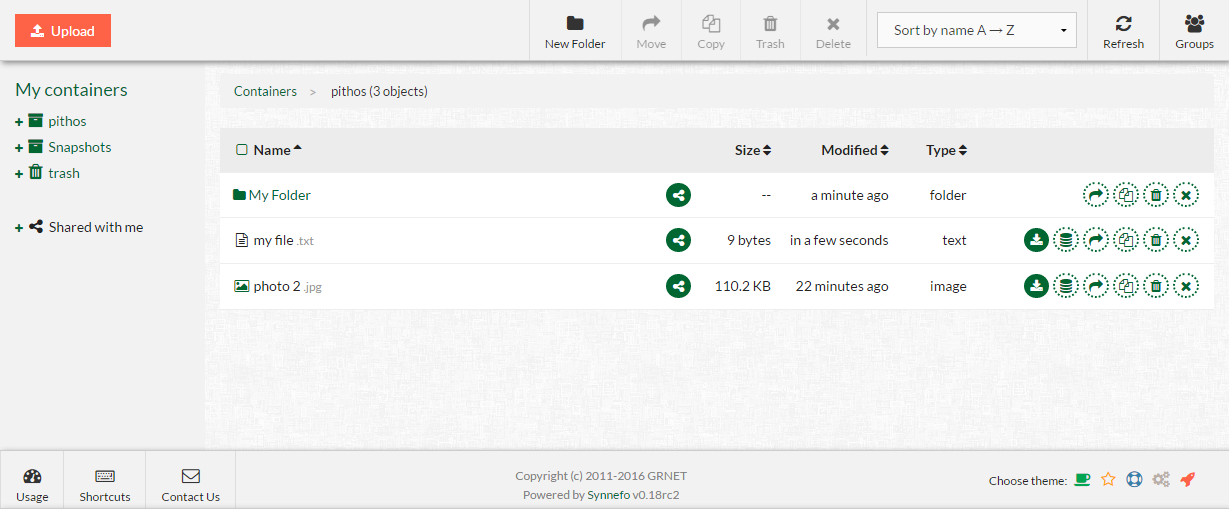
The site can be visually divided into the following parts:
- On the left of the page, you can see the containers and folders you have created. You can also see a list of users that share files or folders with you.
- In the main central area, you can see the files and folders in each container or another folder. Next to each of them you will notice several buttons that will apply an action to each of them. Hover your mouse over them to see what they can do!
- On the upper part, there are actions a user can make within the current container or directory by selecting multiple files/folders. Also there is the option to create groups in order to share files with.
- On the bottom bar you can view your Pithos+ available quotas, find useful shortcuts, contact the ~okeanos team or even change the theme of the Pithos+ User Interface.
Now, let's see what else you can do with Pithos+.
How to upload files?
Of course, the first and foremost Pithos+ feature is file uploading. After you have selected the folder you want to upload your files to (more on the Create Folders section), press the "Upload" button and then the default explorer window will appear on your screen.
Firstly, choose which files you want to upload. You can choose multiple files by holding pressed the -Ctrl- key and clicking the files you want to select. Finally, press the "Open" button to upload the selected files.
Otherwise, if you find this way of uploading boring, just drag & drop the files you want to upload after having selected the container in which you want the files to be uploaded.
How to manage my folders/files?
In Pithos+, you have the ability to manage your files and folders just as you would on your computer. So you can copy, delete, paste and create new folders for your files.
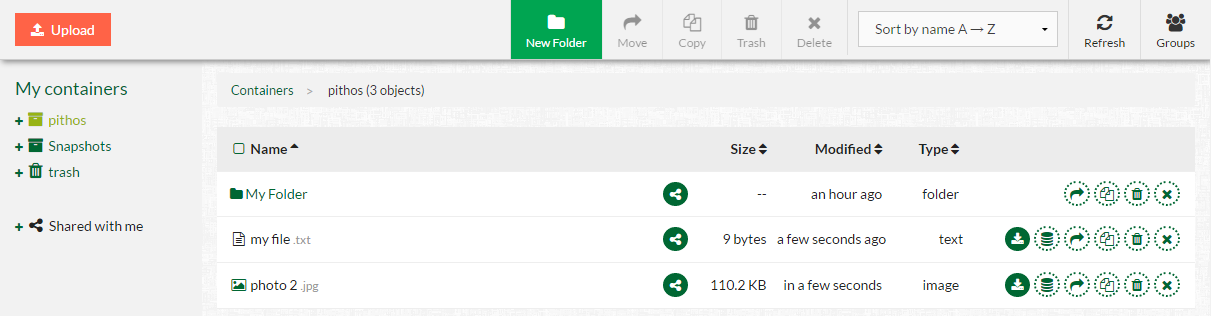
Create folders
You can create a new folder within the parent folder (the one you are now) by clicking the "New folder" button. The default parent folder is "Pithos".
Delete files/folders
For each file/folder you want to delete, you can choose the "Move to
Trash" button  . This option moves the file/folder to the Recycle Bin. From there you
can either restore it
. This option moves the file/folder to the Recycle Bin. From there you
can either restore it  or permanently delete it
  .
.
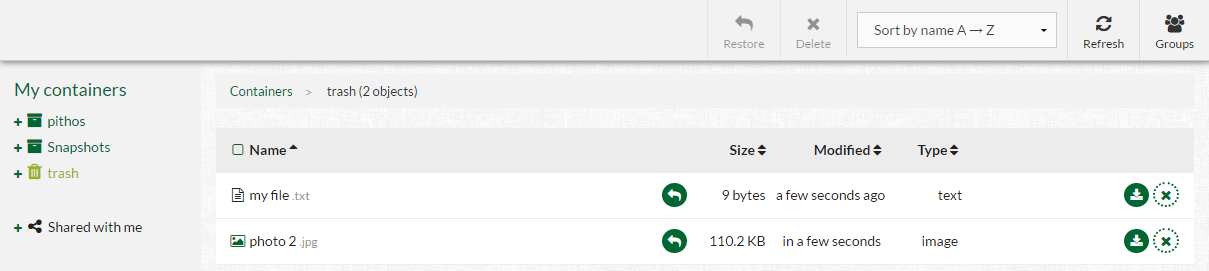
Otherwise you can click the "Delete" button if you want to permanently delete it on the go.
Copy/Cut/Paste files/folders
You also have the option to copy or move a file/folder by selecting the right action.
After you select to copy  or move
  a file/folder a window will pop up
and ask you to select the folder in which you want to paste or move the file/folder.
a file/folder a window will pop up
and ask you to select the folder in which you want to paste or move the file/folder.
How to share files?
Pithos+ lets you share files or entire folders with others. You can choose to share a file or folder with a list of ~okeanos users, a custom user group you have created or make it public on the Internet and share the public link provided.
Create Groups
If you want to share files with multiple people, then the user groups is the easiest way to do it. By clicking on "Groups" and then the "New Group" option, you can name your new group. After you create a group, you can add people to it by using their ~okeanos user names.
Sharing files/folders with one or many Pithos+ users
To share a file/folder with one or many Pithos+ users, click on the share button  for this file/folder and then enter multiple e-mails by separating them with comma, space,
tab or enter if you want to share it with these users. You can even select to share it with
a group of users that you've created or even a group and more individual users.
Otherwise you can select to "privately share with everybody" if you want to share with all the ~okeanos users.
for this file/folder and then enter multiple e-mails by separating them with comma, space,
tab or enter if you want to share it with these users. You can even select to share it with
a group of users that you've created or even a group and more individual users.
Otherwise you can select to "privately share with everybody" if you want to share with all the ~okeanos users.
To complete the process, you should define what rights the users will have on the files you have shared with them. Specifically, if they have "Can view" permissions, they can only read the files. Else, if they have "Can edit" permissions, they will be able to read and modify them.
Public sharing
File sharing is not applicable only to registered Pithos+ users. By selecting to share a file you can then choose the option "Public on the Internet" to create a download link for this file. This link can be used even from not registered Pithos+ users.
NOTE: Keep in mind that public sharing is currently disabled for folders.